
Website Design
There are basically two main methods that are commonly used to create a website. The first method is to learn how to code a website yourself and the second method is to use a "website template system" such as WordPress. One important thing to keep in mind when choosing which method is best for you is that there are several benefits to creating a website of your own from scratch.
First of all, you are in control of everything. You create and own all of the aspects of your website, and you will always have access to the files you need.
Secondly, you will learn how a website is actually coded and works.
So, if you think that you want to give the DIY method of website design a shot, then we have created a simple free responsive website template to get you started in the right direction.
The following free responsive website template will allow you to create a website exactly like our Netobo website. Simply follow the instructions below to get your responsive website online today quickly and easily.
|
|
|
|
|
|
The files listed below will allow you to get your initial website online. The images folder is where you will store all of the images needed for your website. The support-files folder is where your .css files are stored. These files control the color and layout of your website. The .html files are your actual web pages and your include files. Include files are used to add sitewide navigation, ad spaces, footers, and headers. The .htaccess file controls your website's include files and error pages.
 |
|
|
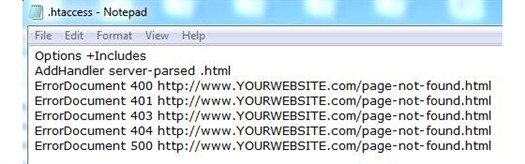
Simply click the .htaccess file to open it up in your computer's basic Notepad application. Then replace "YOURWEBSITE" with your actual website's domain name. Then save the .htaccess file, and you are done with it.
 |
|
|
Open the "support-files" folder using your favorite HTML source editor. So what is an HTML source editor? HTML source editors are simply used to created properly formatted HTML web pages, that can then be uploaded onto your web host's server. There are plenty of free HTML source editors and we recommend using: Arachnophilia Once you download Arachnophilia, you then click on "File" and then "Open" your CSS files. You will then see the two .css files, one for computers and one for mobile devices. These files will allow you to change the look and feel of your website. You can play around with the color codes until you find the color scheme you desire. Anything with a standard HTML color code (i.e. #000000) can be changed. Currently the .css files are set to a basic black and white the color scheme. To find other HTML color codes you can visit: HTML Color Codes 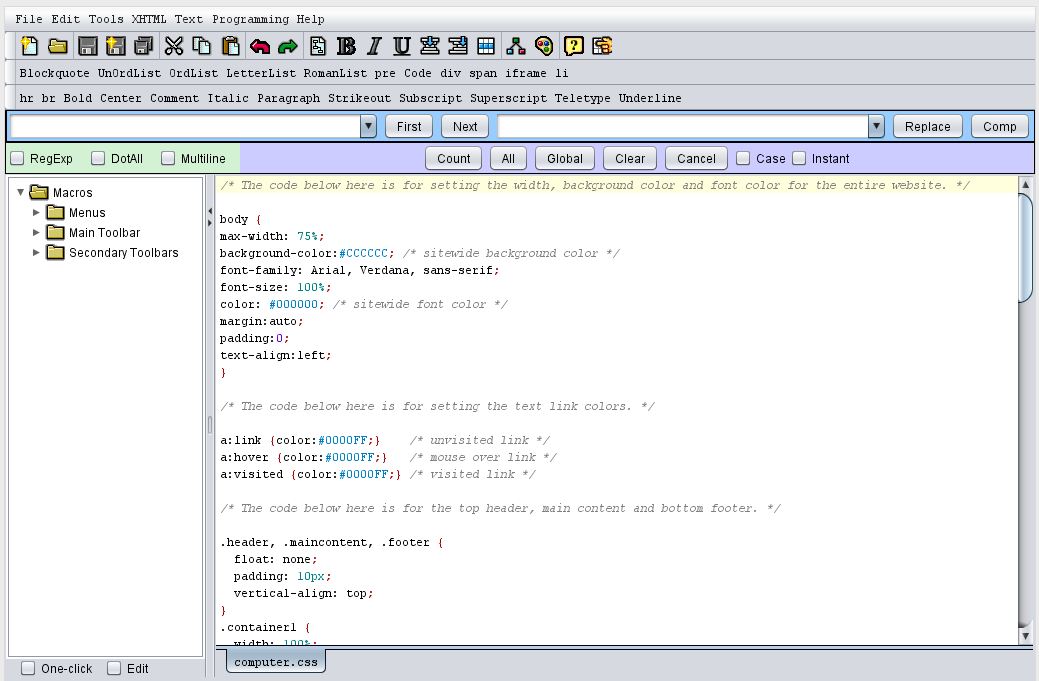 |
|
|
Now open up the .html files, one at a time, and replace all the portions that require your website's information. We have labeled the sections that need to be updated with all capital letters refering to "YOUR WEBSITE" as shown in the highlighted section of the image below. To add additional web pages simply use the index.html file as a template, and then edit it and "save as" your new web page. When you save a new web page, remember to add a hyphen in between multiple word page names. (i.e. new-page.html) 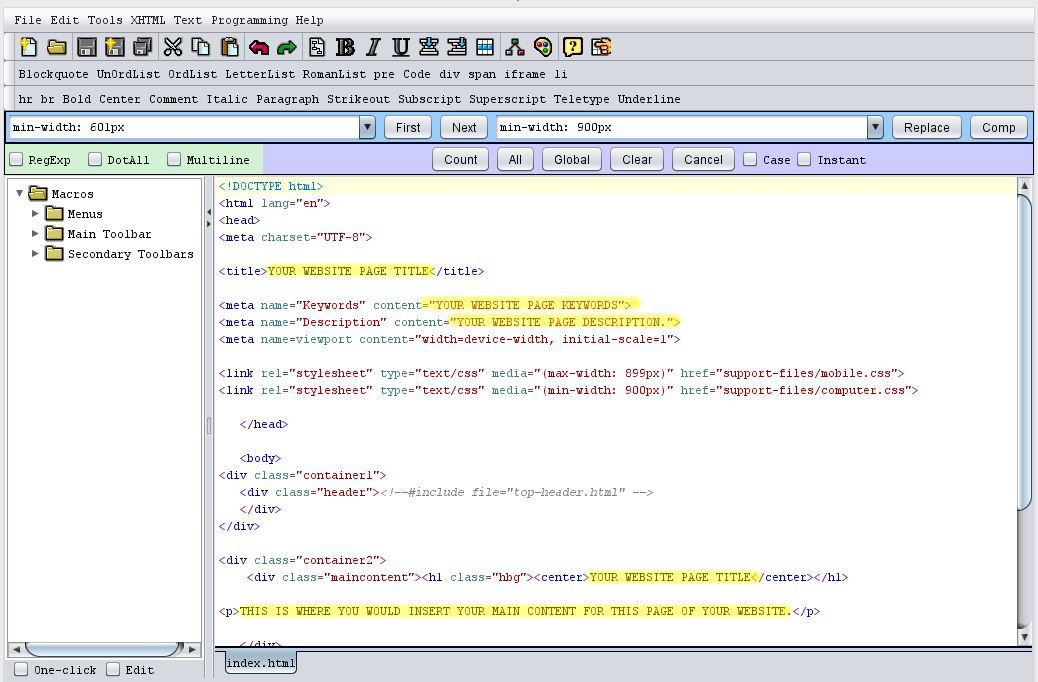 |
|
|
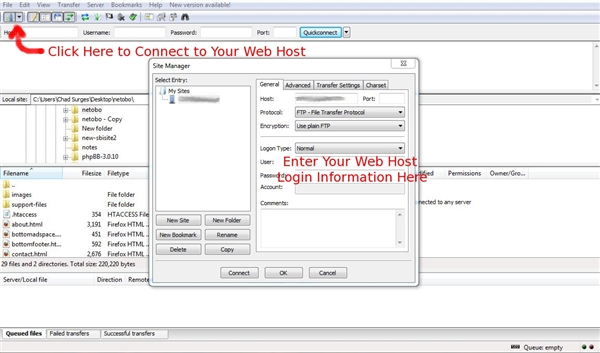
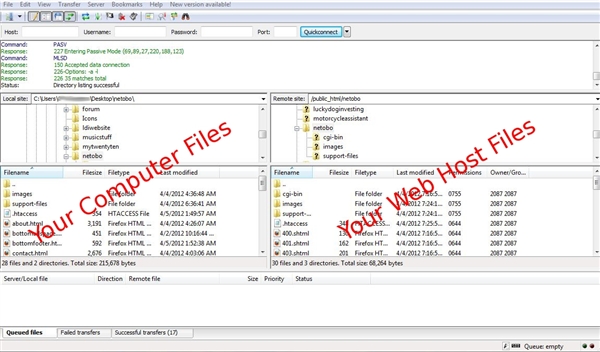
Once you have finished editing all of your folders and files simply upload them all to your web host's server using an FTP client. So what is an FTP client? FTP stands for "File Transfer Protocol", and it is simply used to transfer files to and from your web host from your computer. It will allow you to upload things such as web pages and images onto your web host's server. There are plenty of free FTP clients available and we recommend using: Filezilla Once you download Filezilla, you then connect to your web host's server using your login information from your web host. Once you are connected to your web host, you will be able to view all of your current files that are on your web host's server pertaining to your website.
|
|
|